
In a nutshell, cropping a video simply involves deleting part of the video by altering its frame. While that may sound really simple, it is actually one of the more useful types of video edits because it will reframe the subject and can completely alter the look of the video as a result – drawing more focus to the important elements that are in the shot.
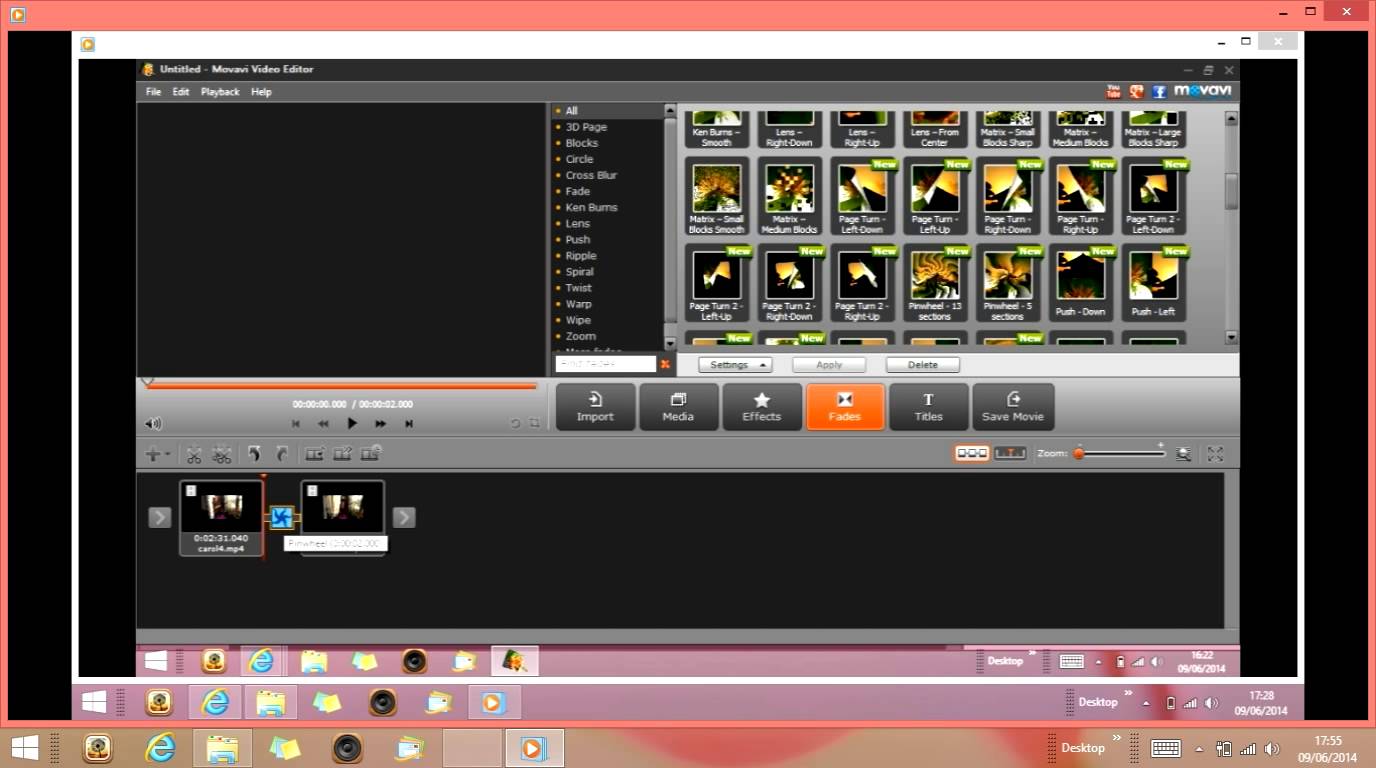
At some point or other it is safe to say that you will be able to benefit from knowing how to crop a video. In some cases it may even be something as simple as removing those annoying ‘black bars’ from videos that were recorded in different aspect ratios. With the help of Movavi Video Editor, you can start to crop your video with minimal hassle by following these steps:
-
- Click ‘Add Media Files’ and select the video that you want to crop.
-
- Open up the ‘Tools’ tab in the sidebar and expand the ‘Crop’ list.
-
- In the ‘Preview’ window you’ll see a rectangle that you can stretch and resize as you would with a normal window to set the desired frame area. To maintain the aspect ratio, check the ‘Constrain proportions’ box.
-
- When you are done setting the frame area, click ‘Apply’ to finalize it.
- Click ‘Export’ to save your video.
By providing you with a visual way to crop your video, Movavi Video Editor makes it easy for you to ensure that you are re-framing the elements in your video exactly the way that you want to. That same user-friendly and intuitive approach is a constant in all of its other features as well, and you should take the time to explore and apply them to your videos too.
With the other features of Movavi Video Editor, you’ll find that you’re able to edit your video in numerous ways. It will let you trim out unwanted segments of video, merge clips together, improve the video quality, and fix common issues with video recordings. If you want to give your video some extra polish, you can also add audio tracks as background music or voiceovers, insert customizable text, or apply stylish filters and special effects.
All that it will take is a little bit of experimentation on your part to familiarize yourself with these features and figure out how they work. Once you are accustomed to them, you can then apply them to your videos and really benefit from the full scope of what Movavi Video Editor can offer in order to create stunning videos that stand out and look amazing.